Add Custom Fields to Participant Section
Follow the steps below to add custom fields to the Participant Section of your waiver in Docs.Ink.
Adding Custom Fields to Default Participant Section
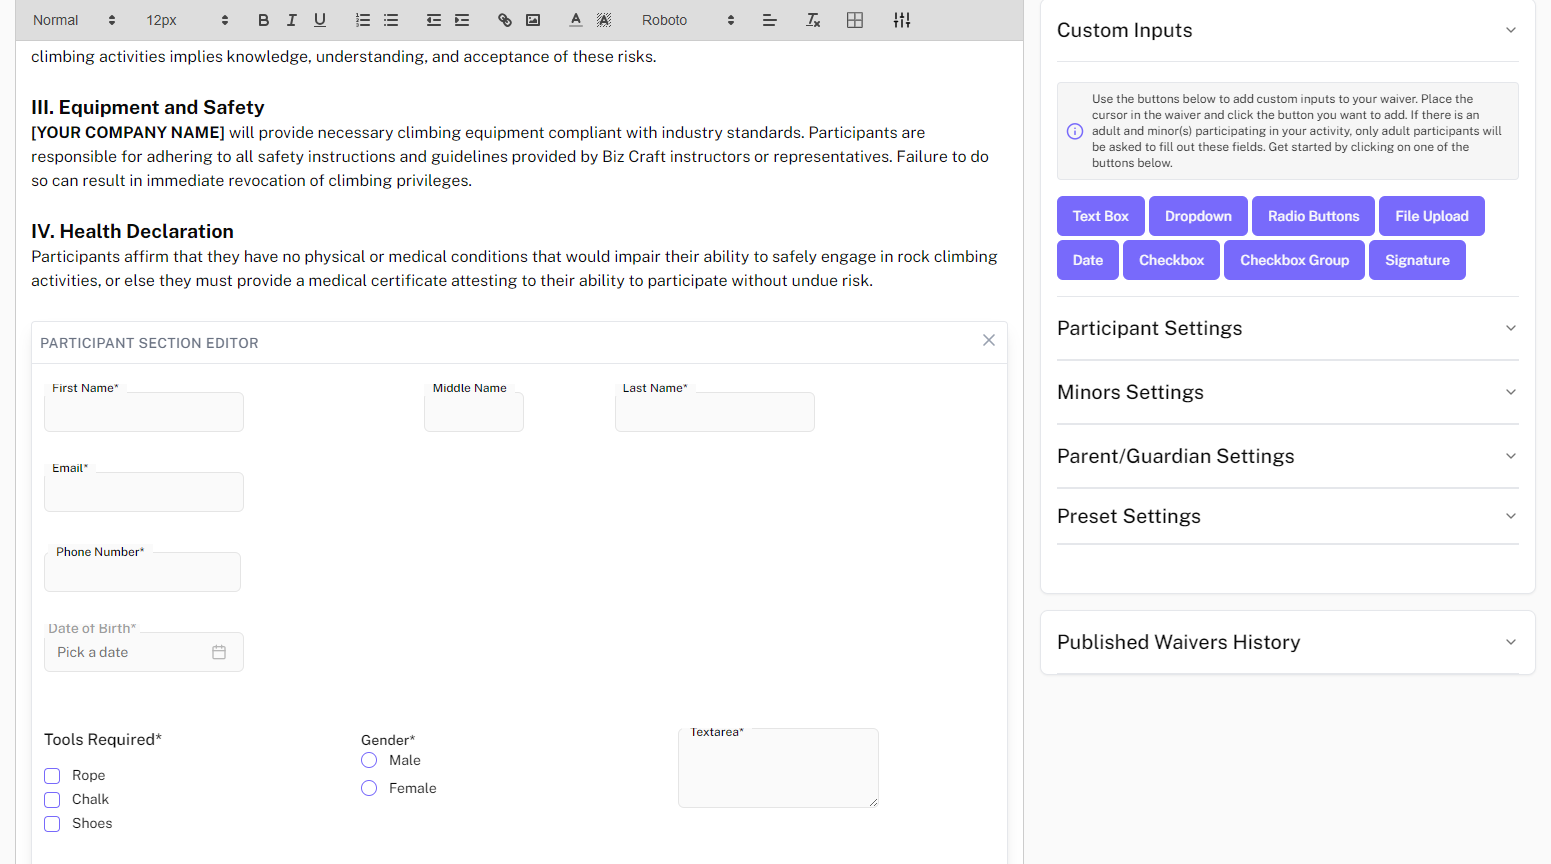
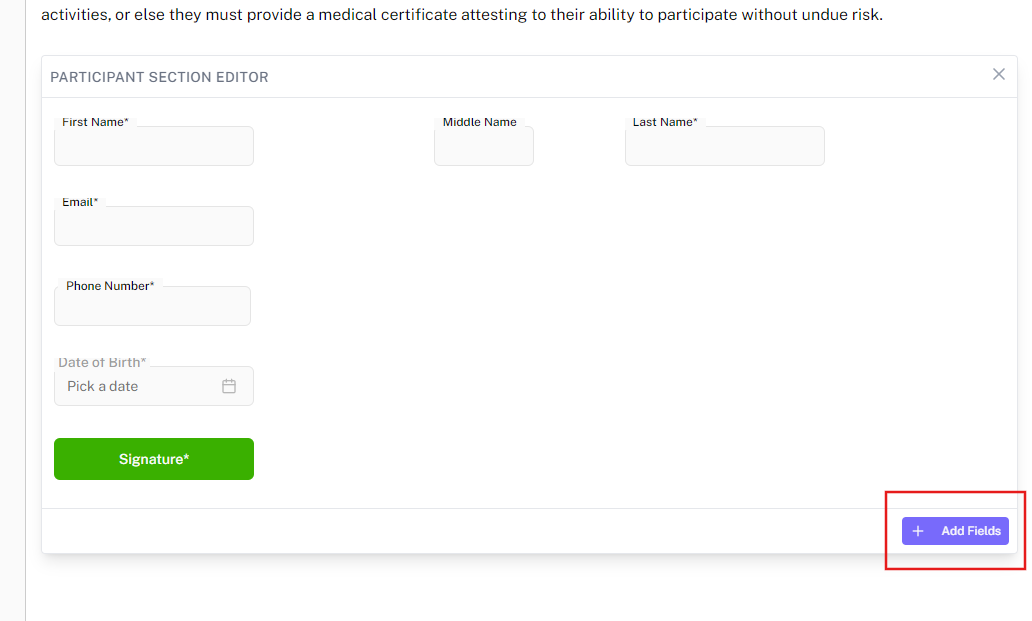
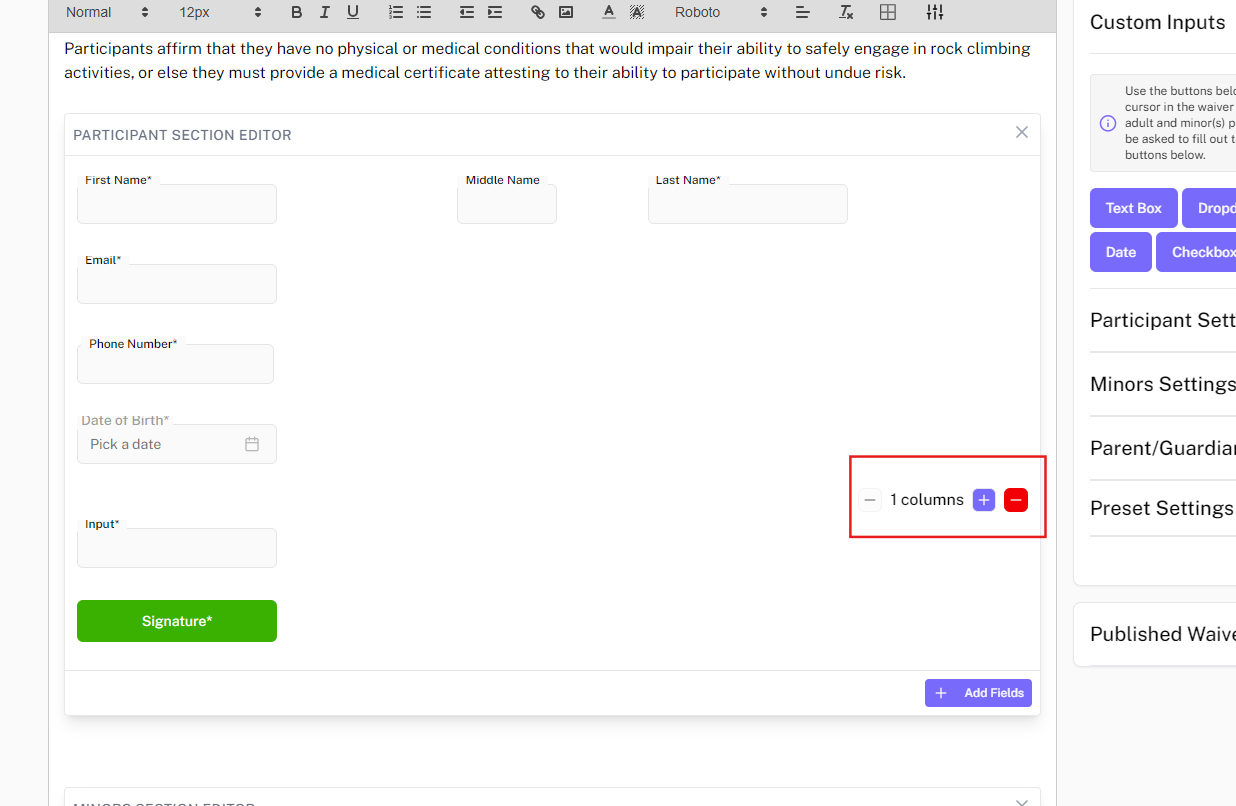
In the Waiver Editor, navigate down to the Participant Section Editor to add more custom fields in addition to the default ones.
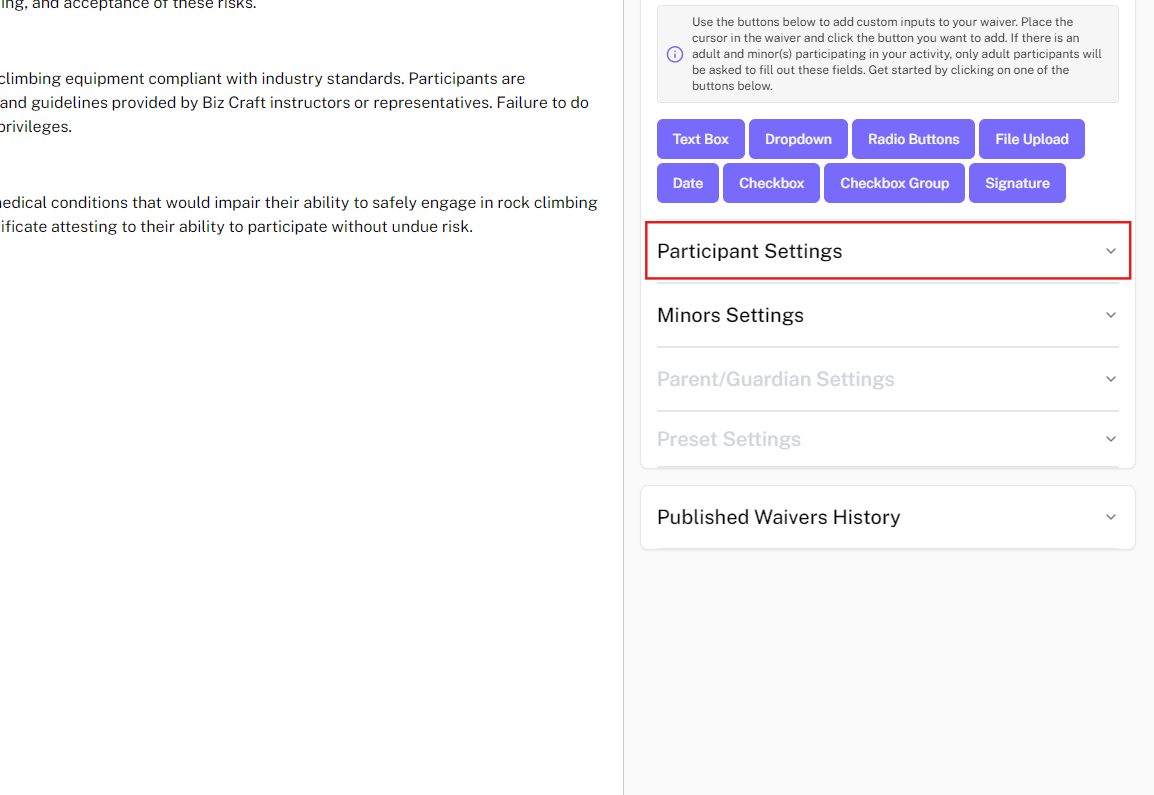
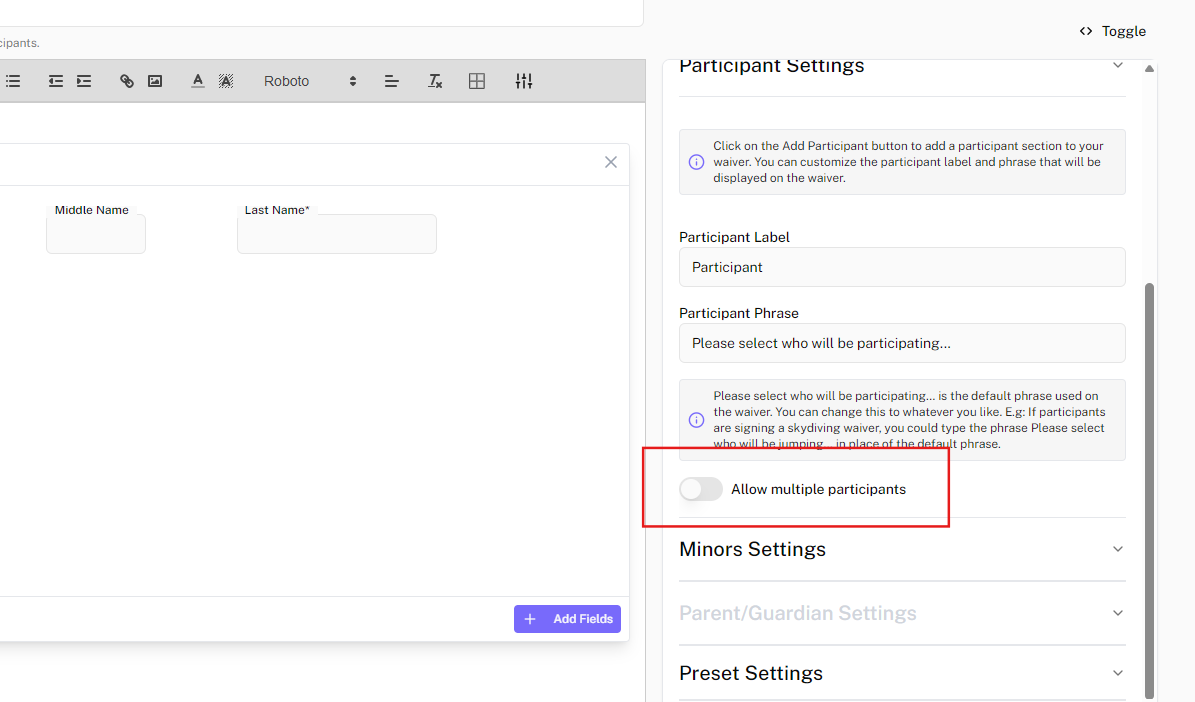
Allowing Multiple participants on a singular waiver
If you allow multiple participants (one adult plus minors) on a single waiver you can include questions that each participant must answer - not just the adult on the waiver.
Add Participant questions
To add Standard and Custom Participant questions in the Waiver Editor click on the Add Participant tab.
Adding Custom Fields
Click on the ”+ Add Fields” button to open up the Custom Fields menu.
Adding custom titles to fields
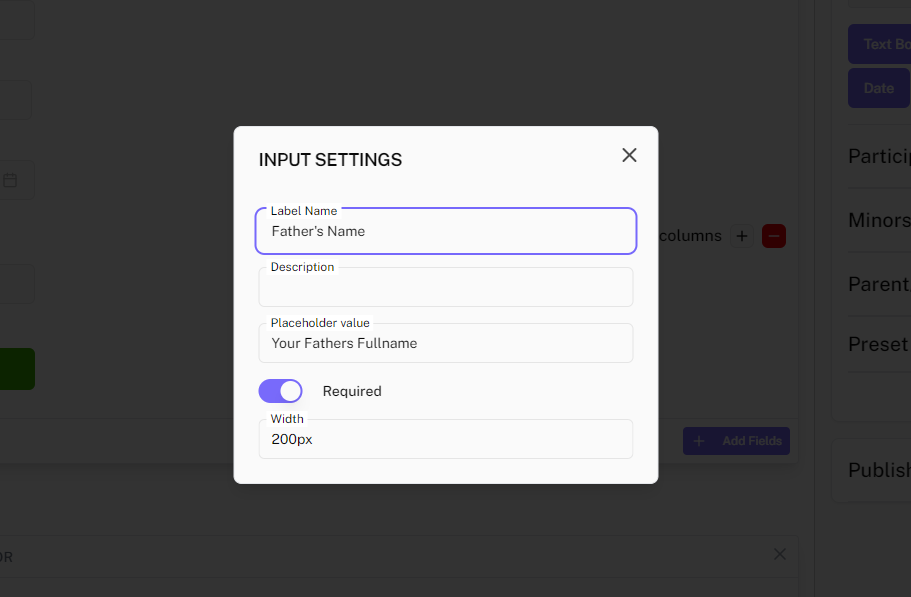
Here you have the ability to change the way in which the Participant Title is displayed on your waiver.
- Click on the gear icon to open up the edit menu:

- Change the title and add the other details needed for you custom field. Close the tab after editing the details:
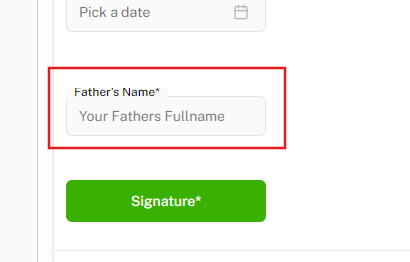
- The changes should be reflected on the editor:
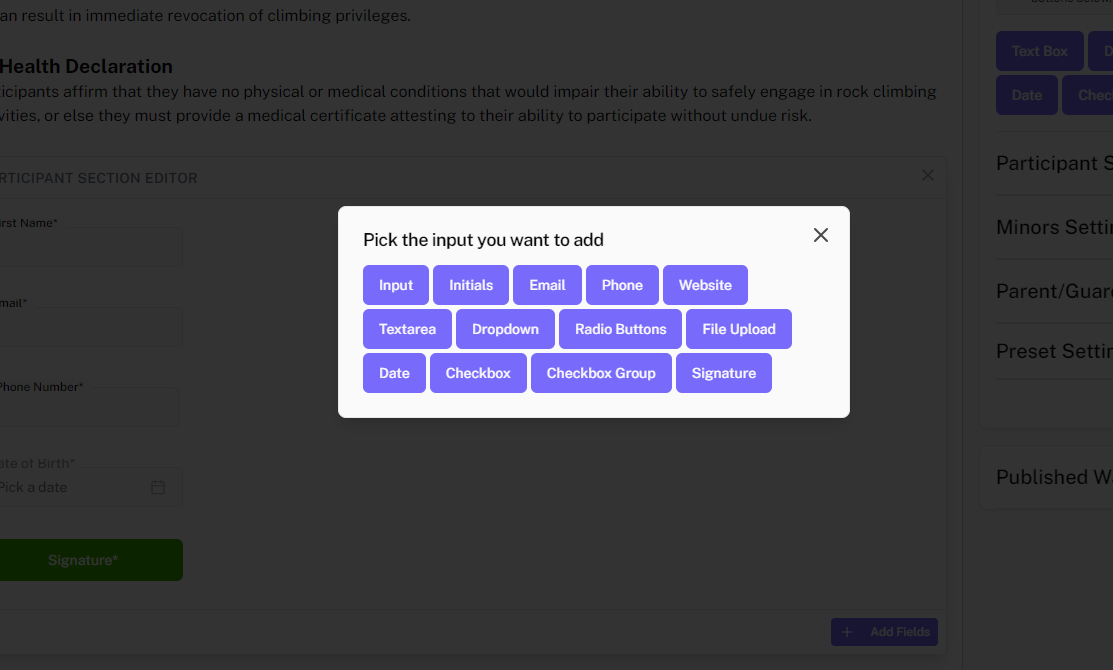
Adding custom fields to the form
This is where you will also find the custom fields to pick from and add to your waiver.
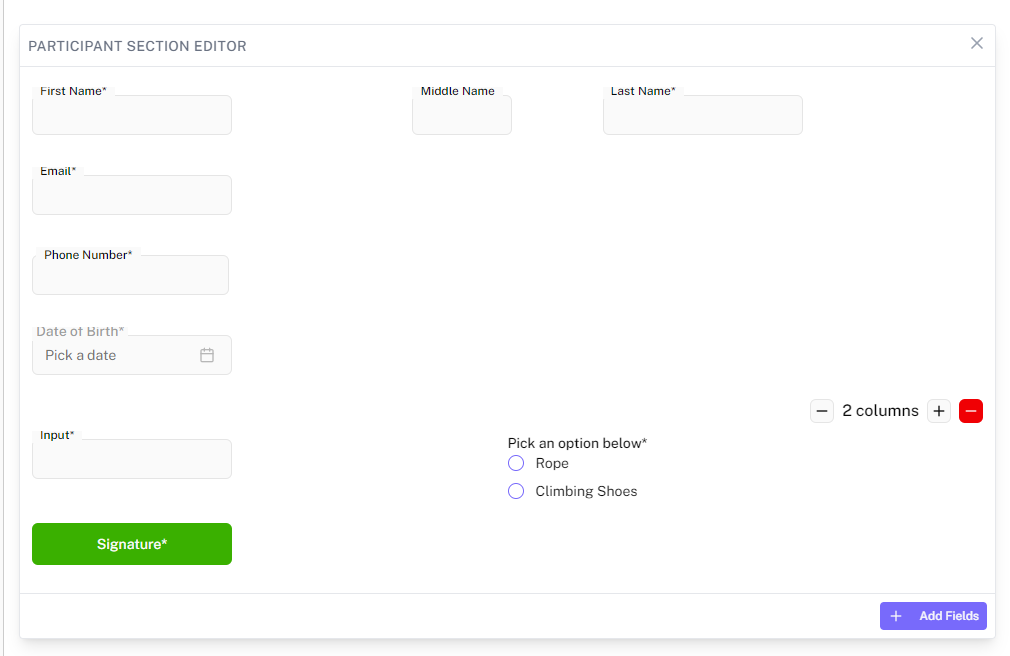
Add more fields in the same column
You can add more elements by clicking on + Sign just behind column. In a single you can add 3 columns in total and after that the new fields will be moved to a new row.
Customize the fields as needed
Click and add the desired custom fields into the designated box of your waiver and customize as needed. In a single you can add 3 columns in total and after that the new fields will be moved to a new row.
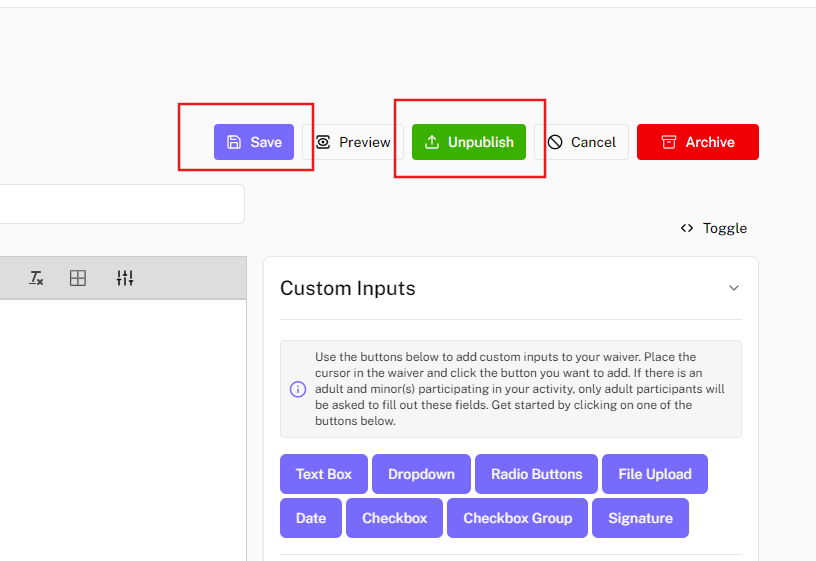
Save and Publish
Then Save the waiver and publish it.